Uploading Course Materials
The Upload Material feature allows students to contribute resources to the ReviZa community. By enabling users to share valuable notes, past papers, and books, the platform fosters a collaborative learning environment. This process ensures materials are organized and structured to maintain high standards and aid discovery by others.
How It Works
Uploading materials involves a guided process to ensure resources are categorized and well-documented for maximum usability:
Step 1: Select a Course
Before uploading, users must select the relevant course.
- The upload option will only appear once a course is chosen.
- This ensures that all materials are appropriately categorized.
Accurately selecting the course helps others quickly locate relevant materials.
Step 2: Upload Your File
Tap the Select Your File box and upload your material.
Accepted file formats include PDFs, Word documents, and images, ensuring diverse content types are supported.
Step 3: Answer Metadata Questions
Once the file is uploaded, you’ll be asked a series of questions about the material:
- Compulsory Questions: Required to ensure the material is categorized and searchable.
- Optional Questions: Provide additional details to enhance the resource's quality and usefulness.
Some examples of metadata questions include:
- Material Type (Notes, Past Papers, Books, Links)
- Semester or Academic Year
- Topic or Keywords
Well-structured information improves search accuracy, helping students find the right material faster.
Step 4: Finalize and Submit
After answering the questions, confirm your upload. Your contribution will be added to the database, enriching the ReviZa community.
Key Features
-
Community Contribution
- Uploads from students create a dynamic and diverse resource library.
- The collaborative nature ensures a wide variety of materials for every course.
-
Quality Control
- Metadata collection ensures all materials are well-structured in the database.
- Users are encouraged to upload high-quality files and provide detailed descriptions to maintain database integrity.
-
Simplified Process
- Intuitive step-by-step interface guides users through selecting a course, uploading files, and adding details.
- Focused on ease of use while maintaining high standards for uploads.
Example Workflow
- Step 1: Choose a course from the dropdown menu.
- Step 2: Upload the file by tapping the Select Your File button.
- Step 3: Fill in metadata (e.g., file type, topic, year).
- Step 4: Submit the material to the ReviZa database.
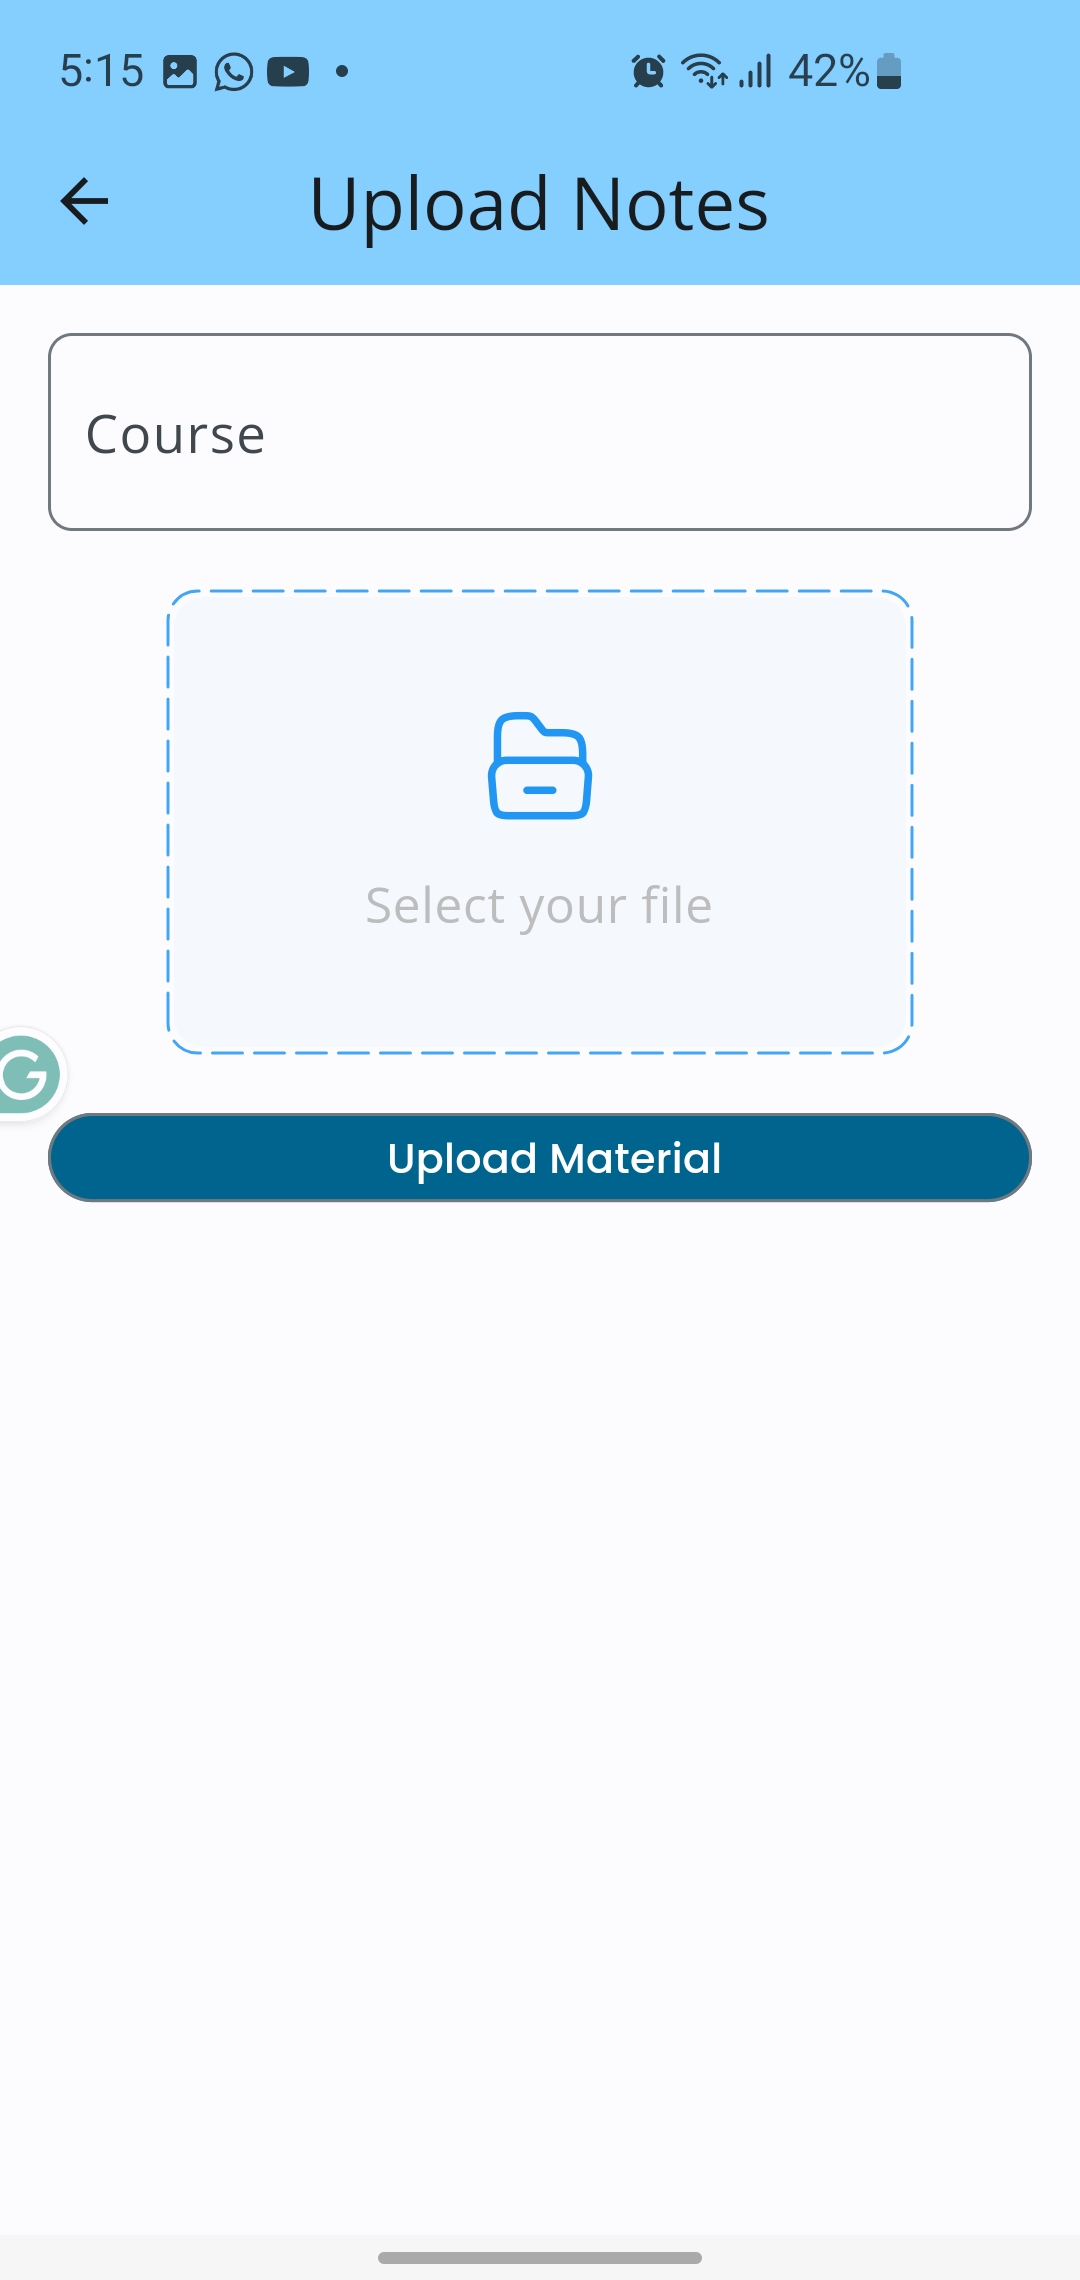
Figure 1: Upload Material Interface
By uploading high-quality materials and filling in metadata accurately, you help ReviZa create an efficient and valuable resource platform for students.